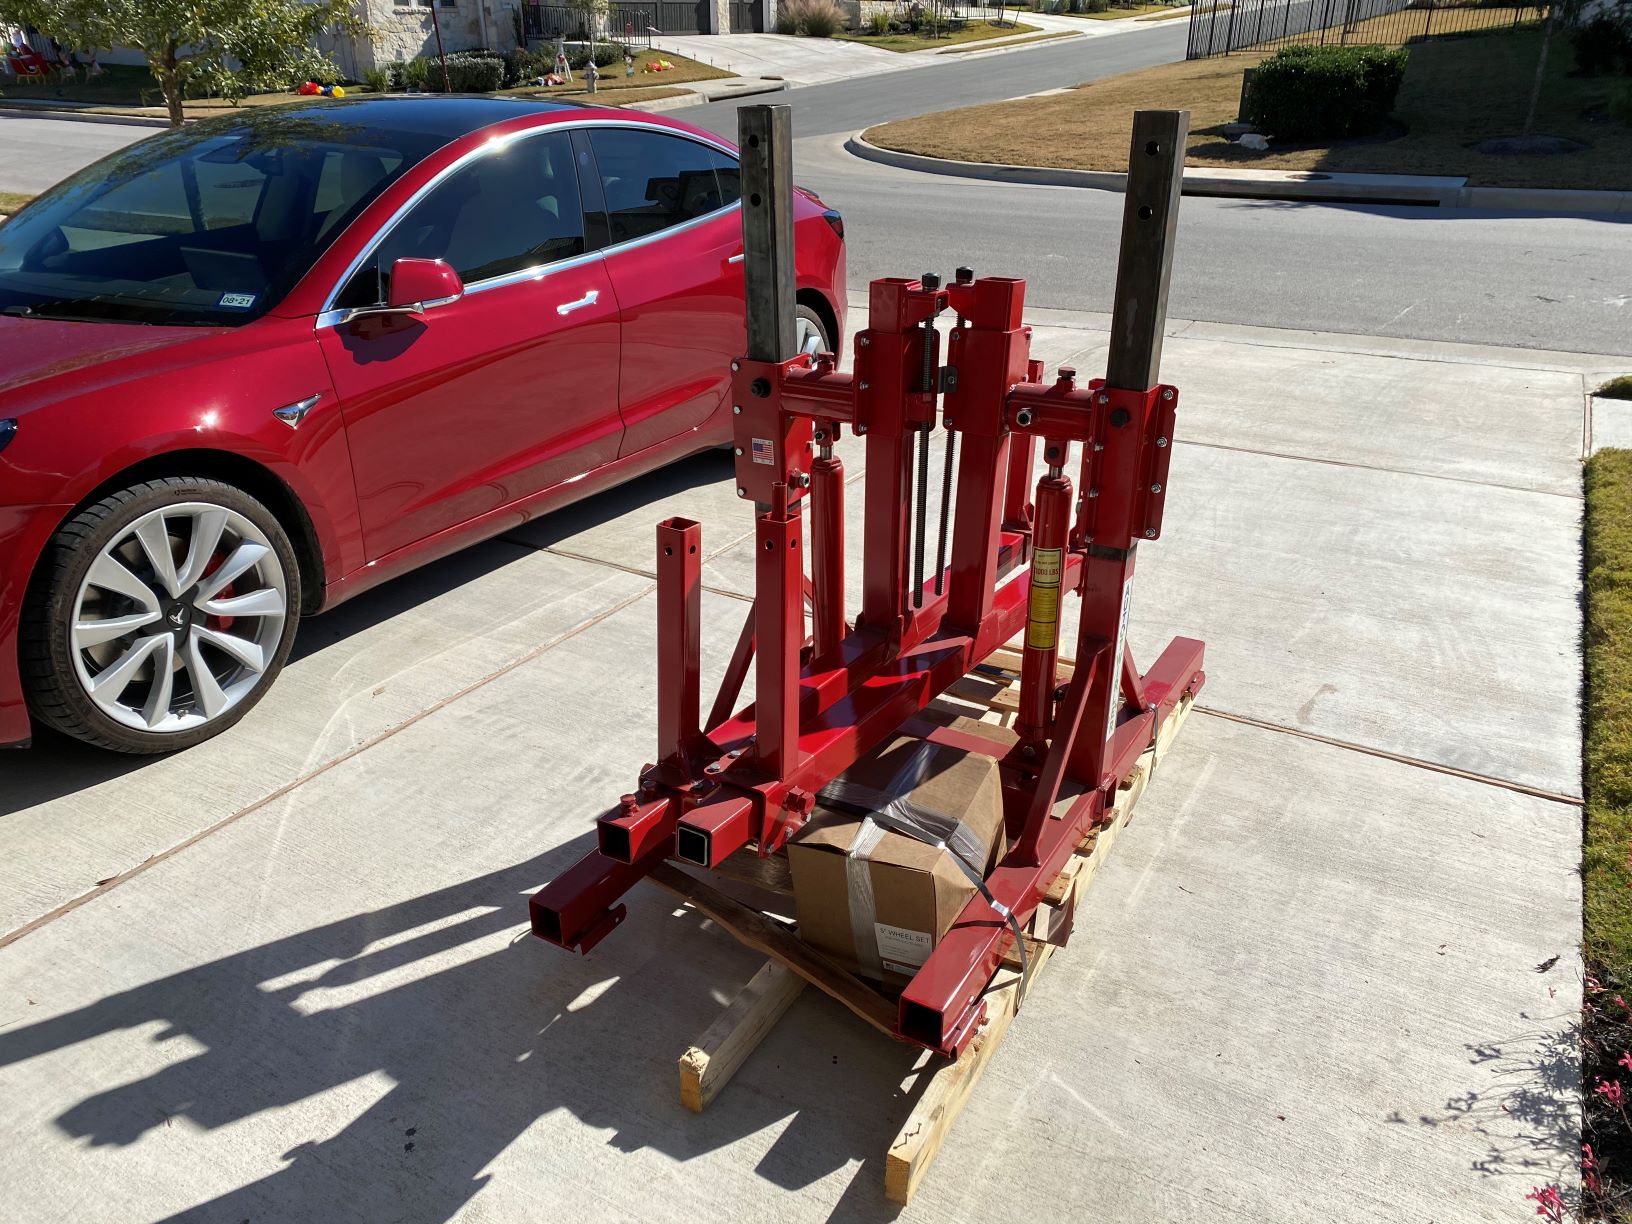
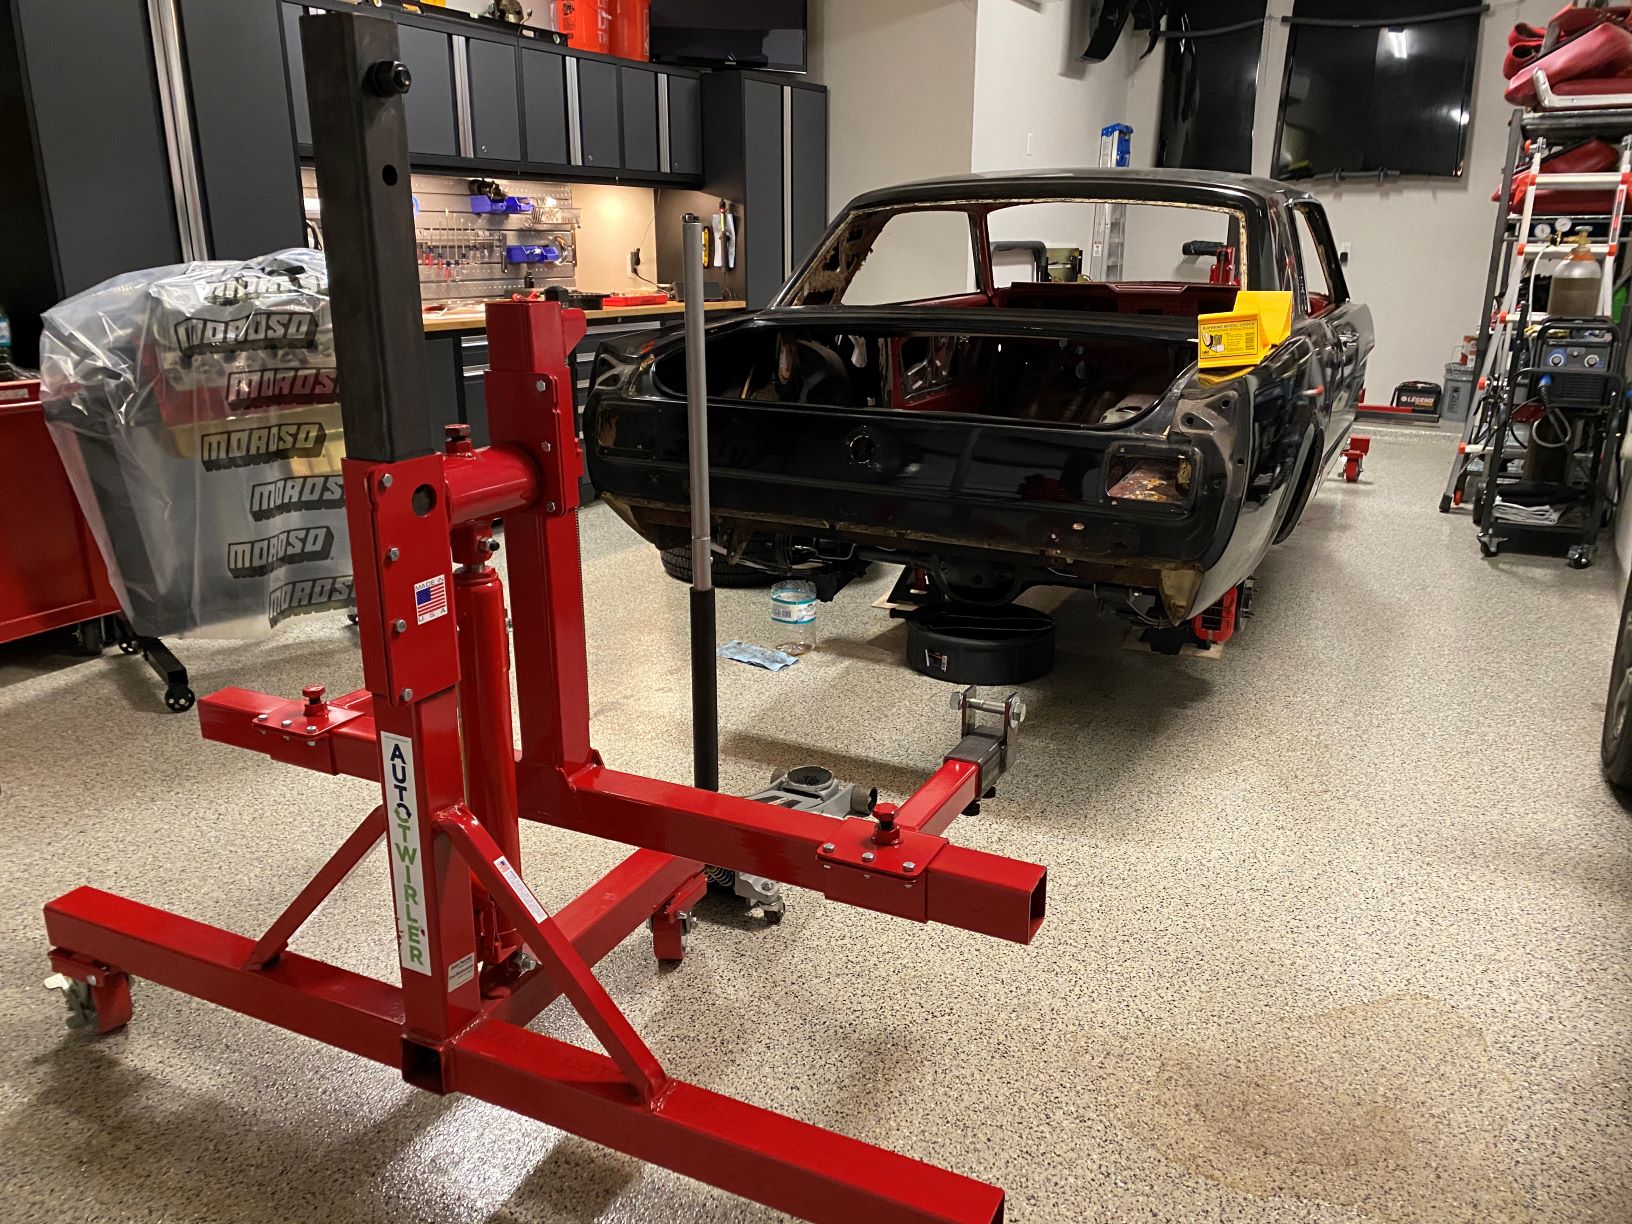
After several weeks of shipping delays the rotisserie finally arrived!
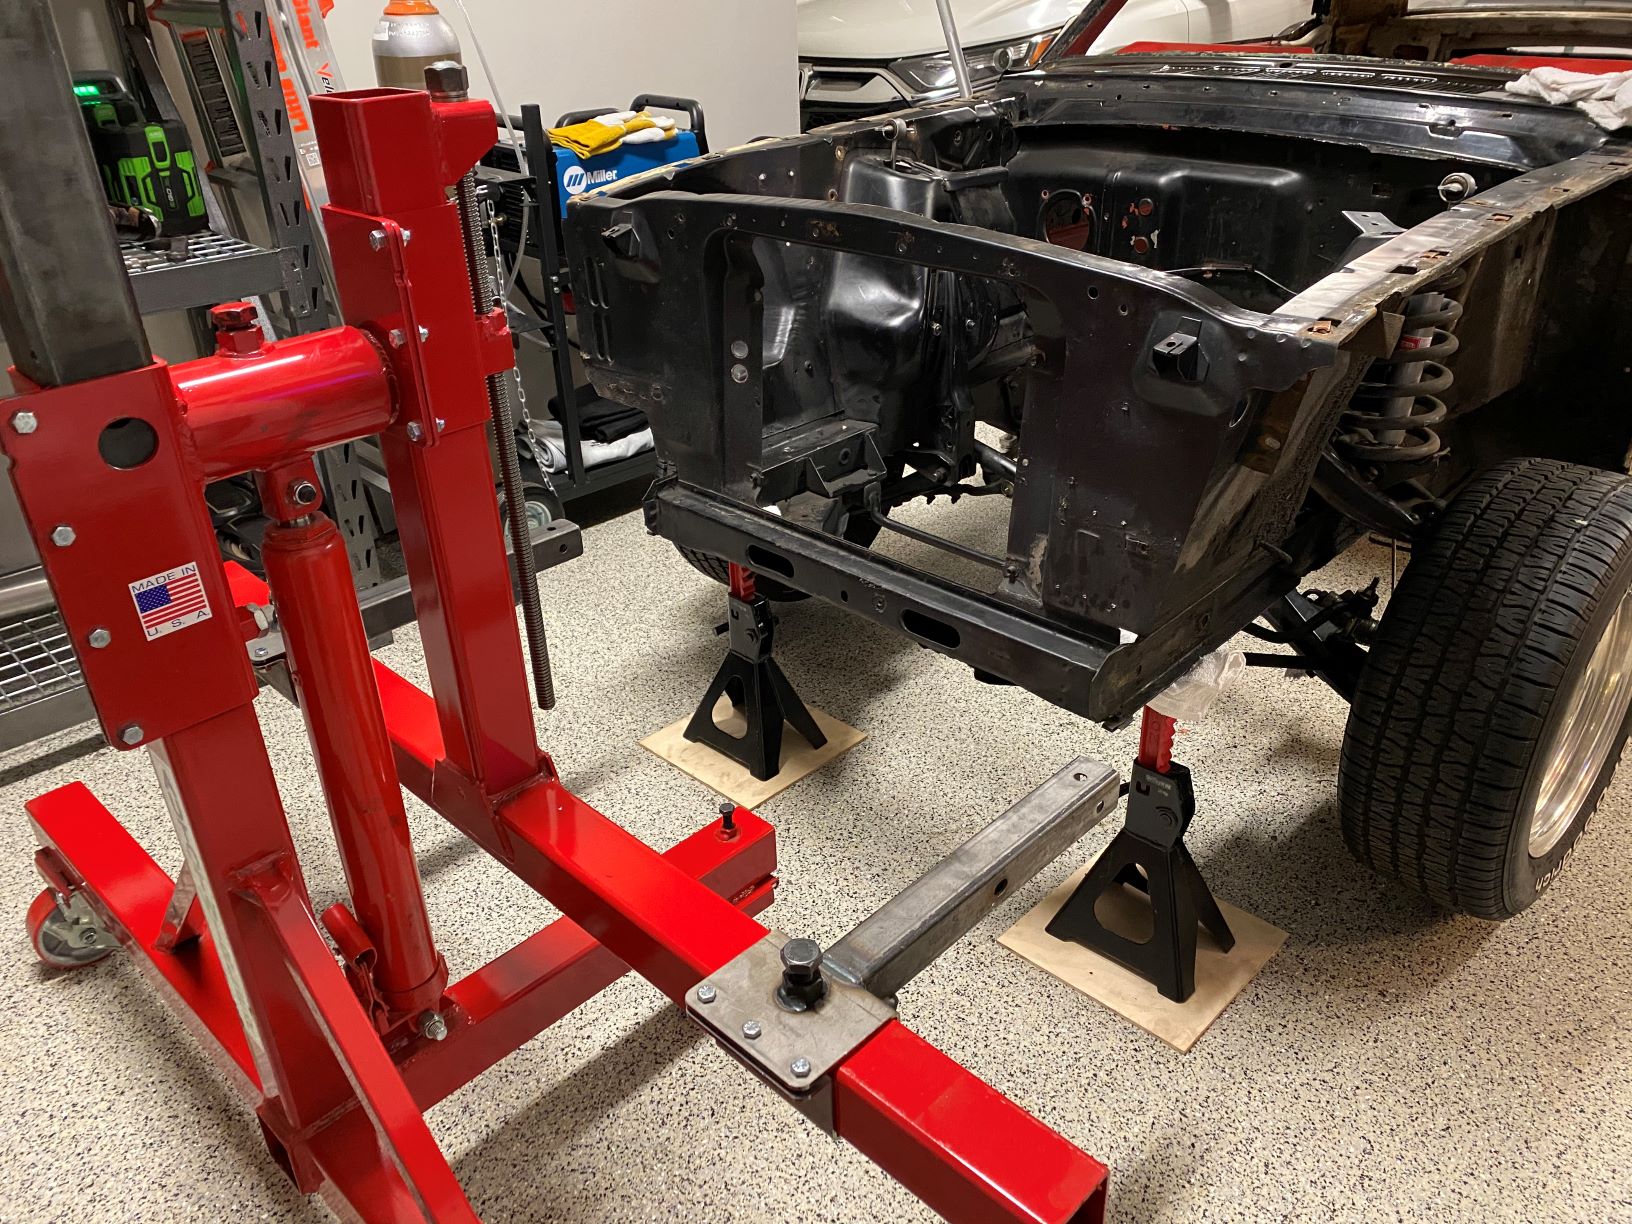
The front of the rotisserie will mount to the bumper support attachment points on the front frame rails while the back portion will mount to the rear leaf spring perches. This meant that the front portion could be attached without any further disassembly so I started there.
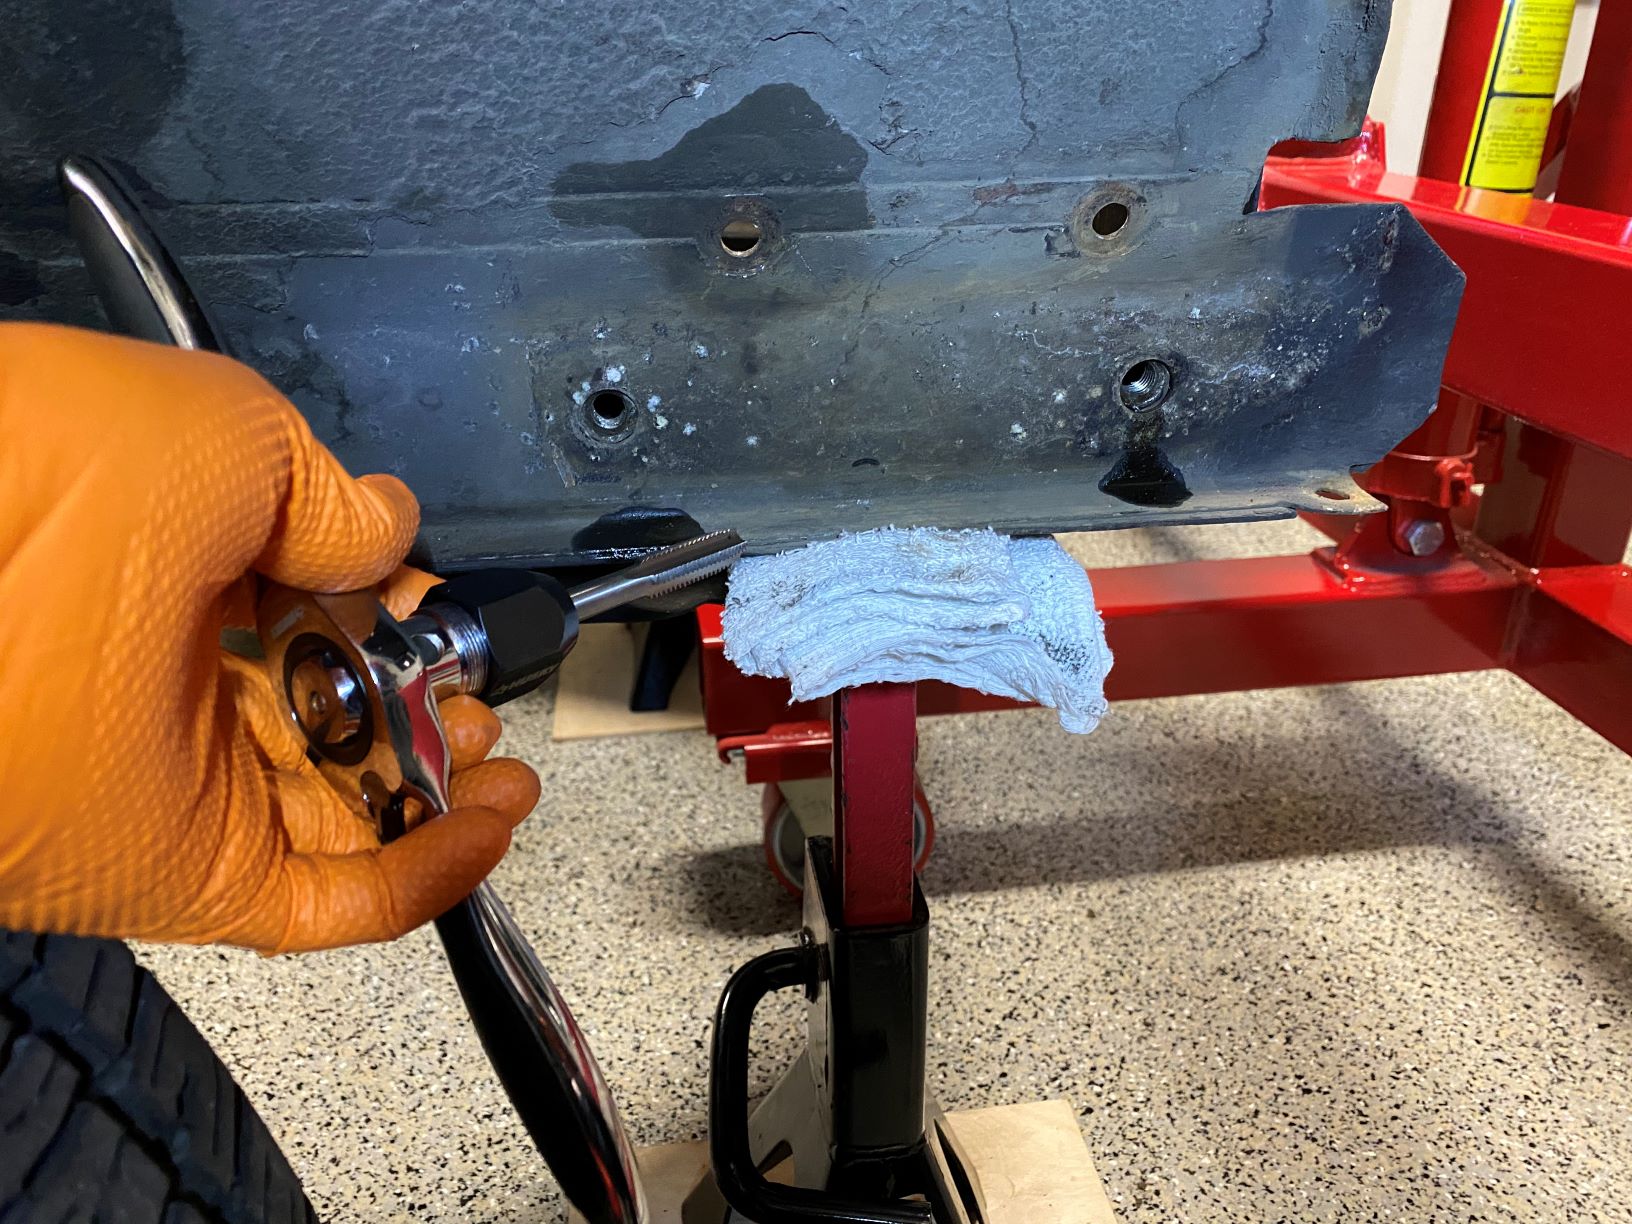
The passenger side bumper support bolt hole threads turned out to be a little wonky, nothing a quick trip to Home Depot to pick up a tap and die set and some cutting oil couldn’t fix.
With the mounts lined up and carefully centered on the rotating arm of the rotisserie it was time to tighten things down and move on to the rear of the car.
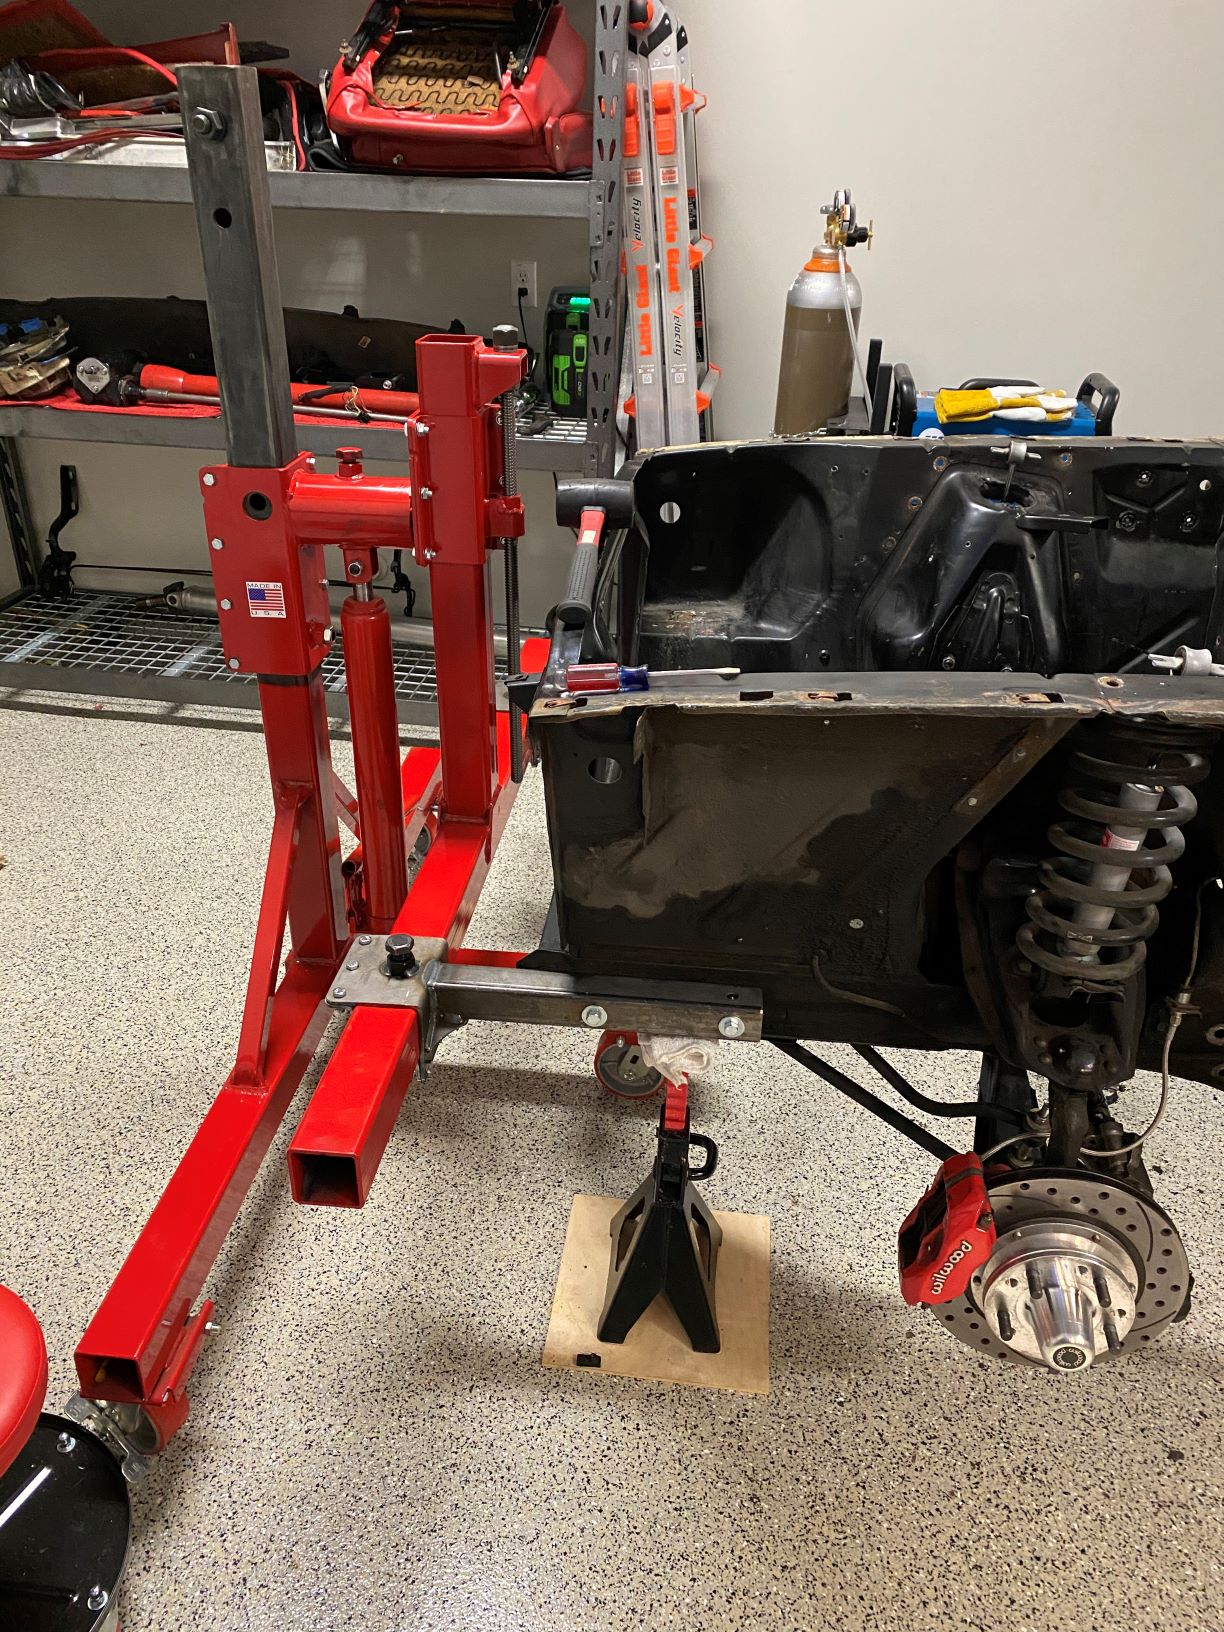
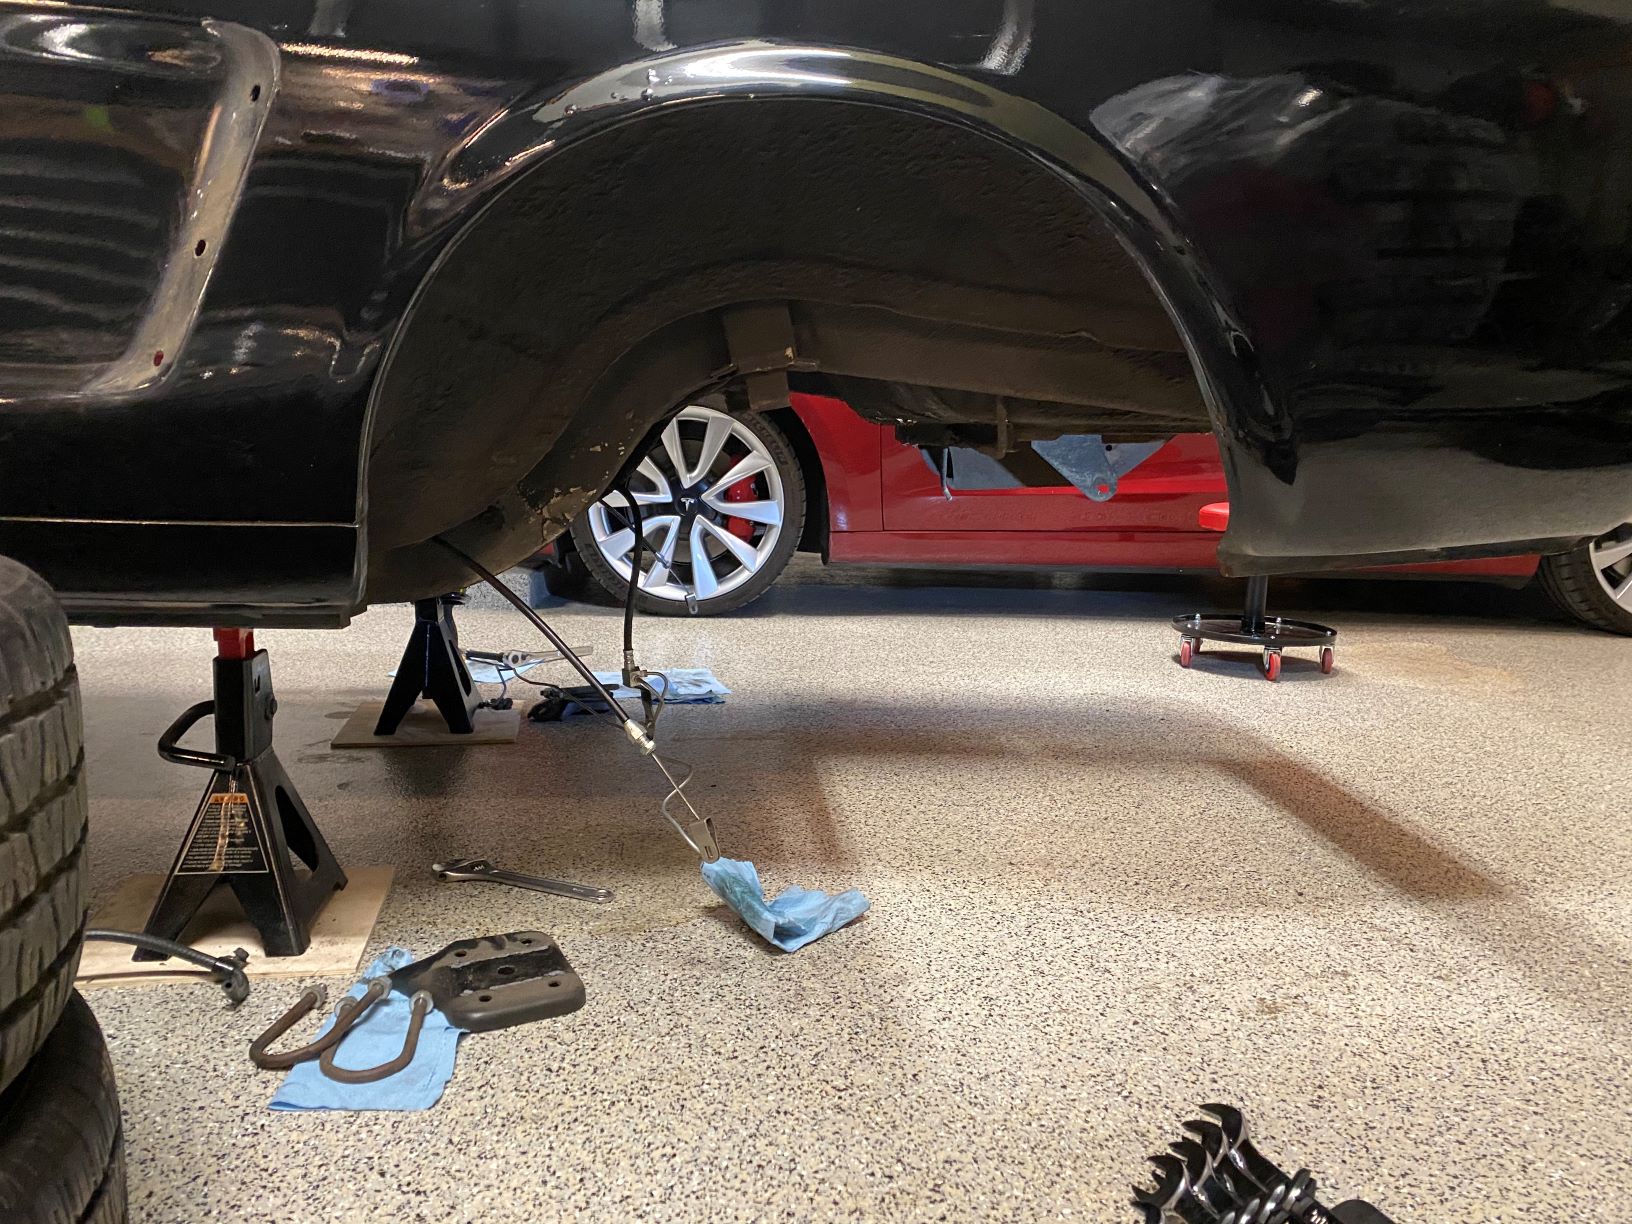
To get the rotisserie mounted to the back end of the car the whole rear end and suspension needed to be removed.
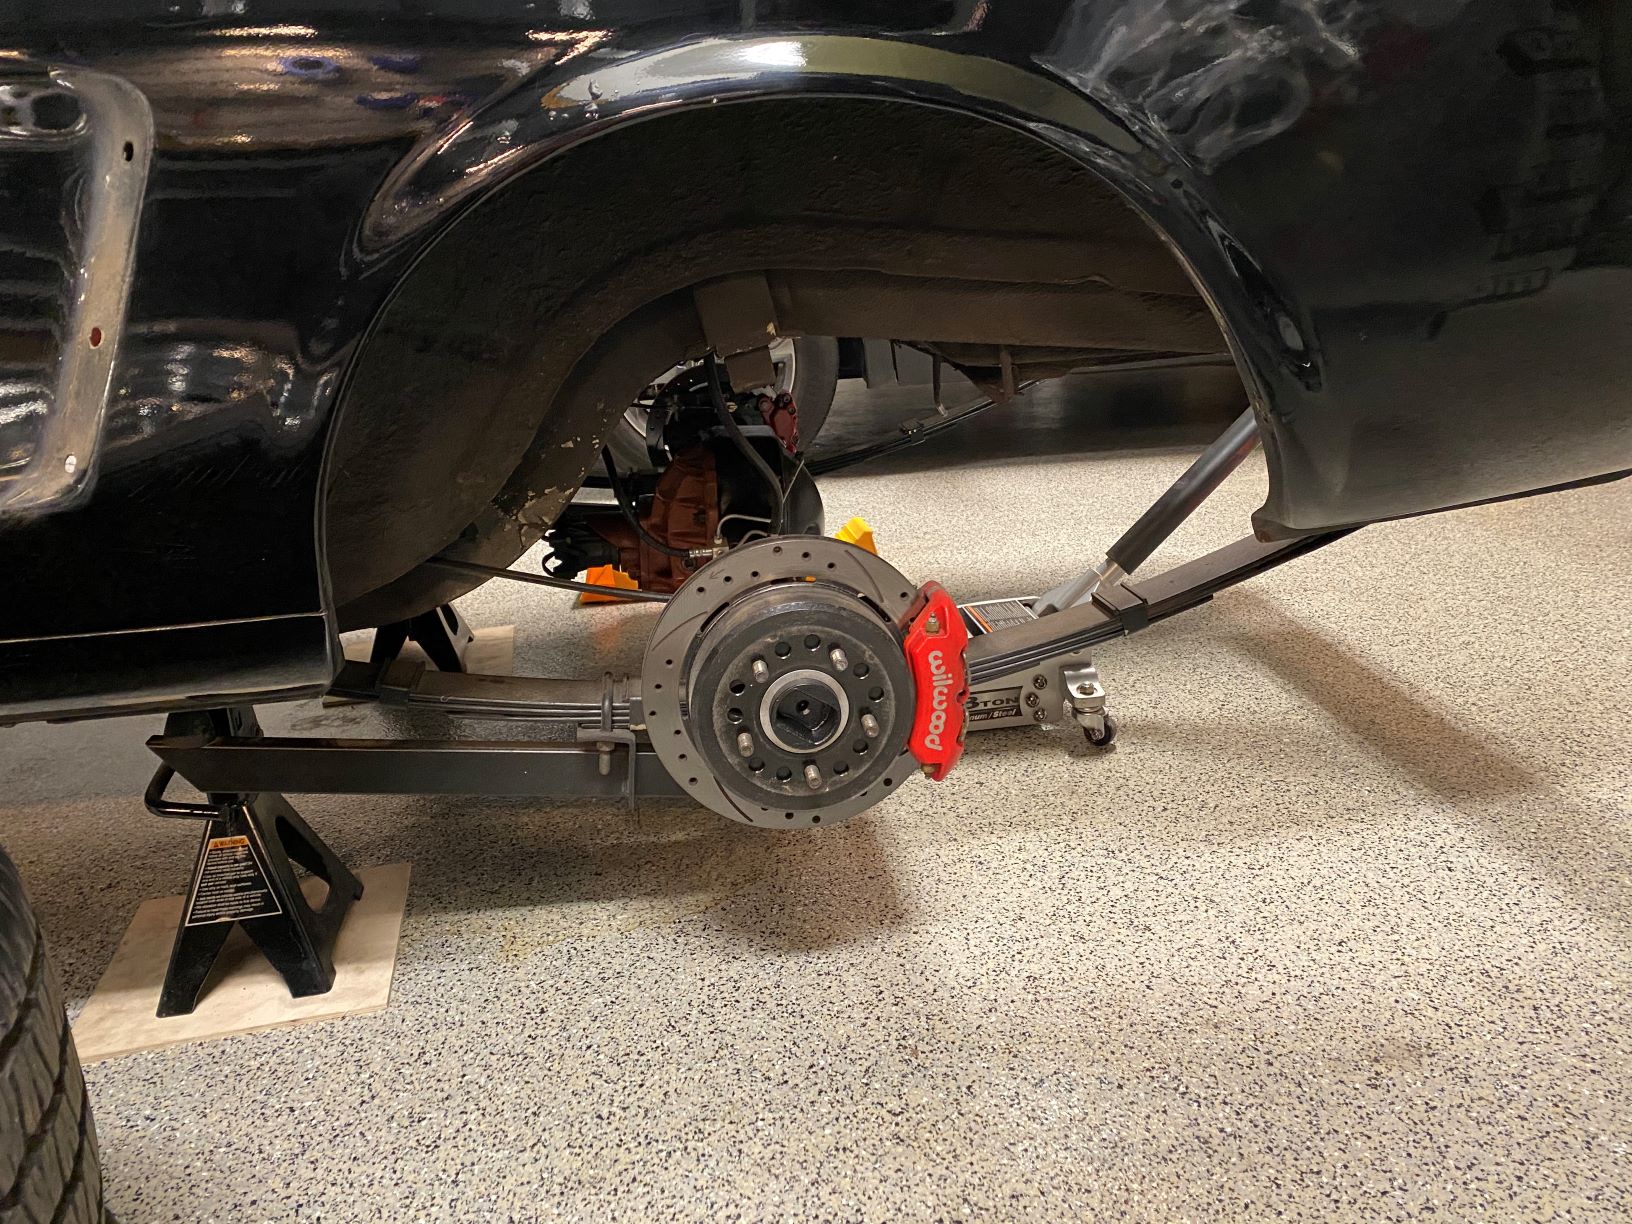
Before going too far I put the back section of the rotisserie in place to scope out the fit and make sure everything was at least likely to line up correctly.
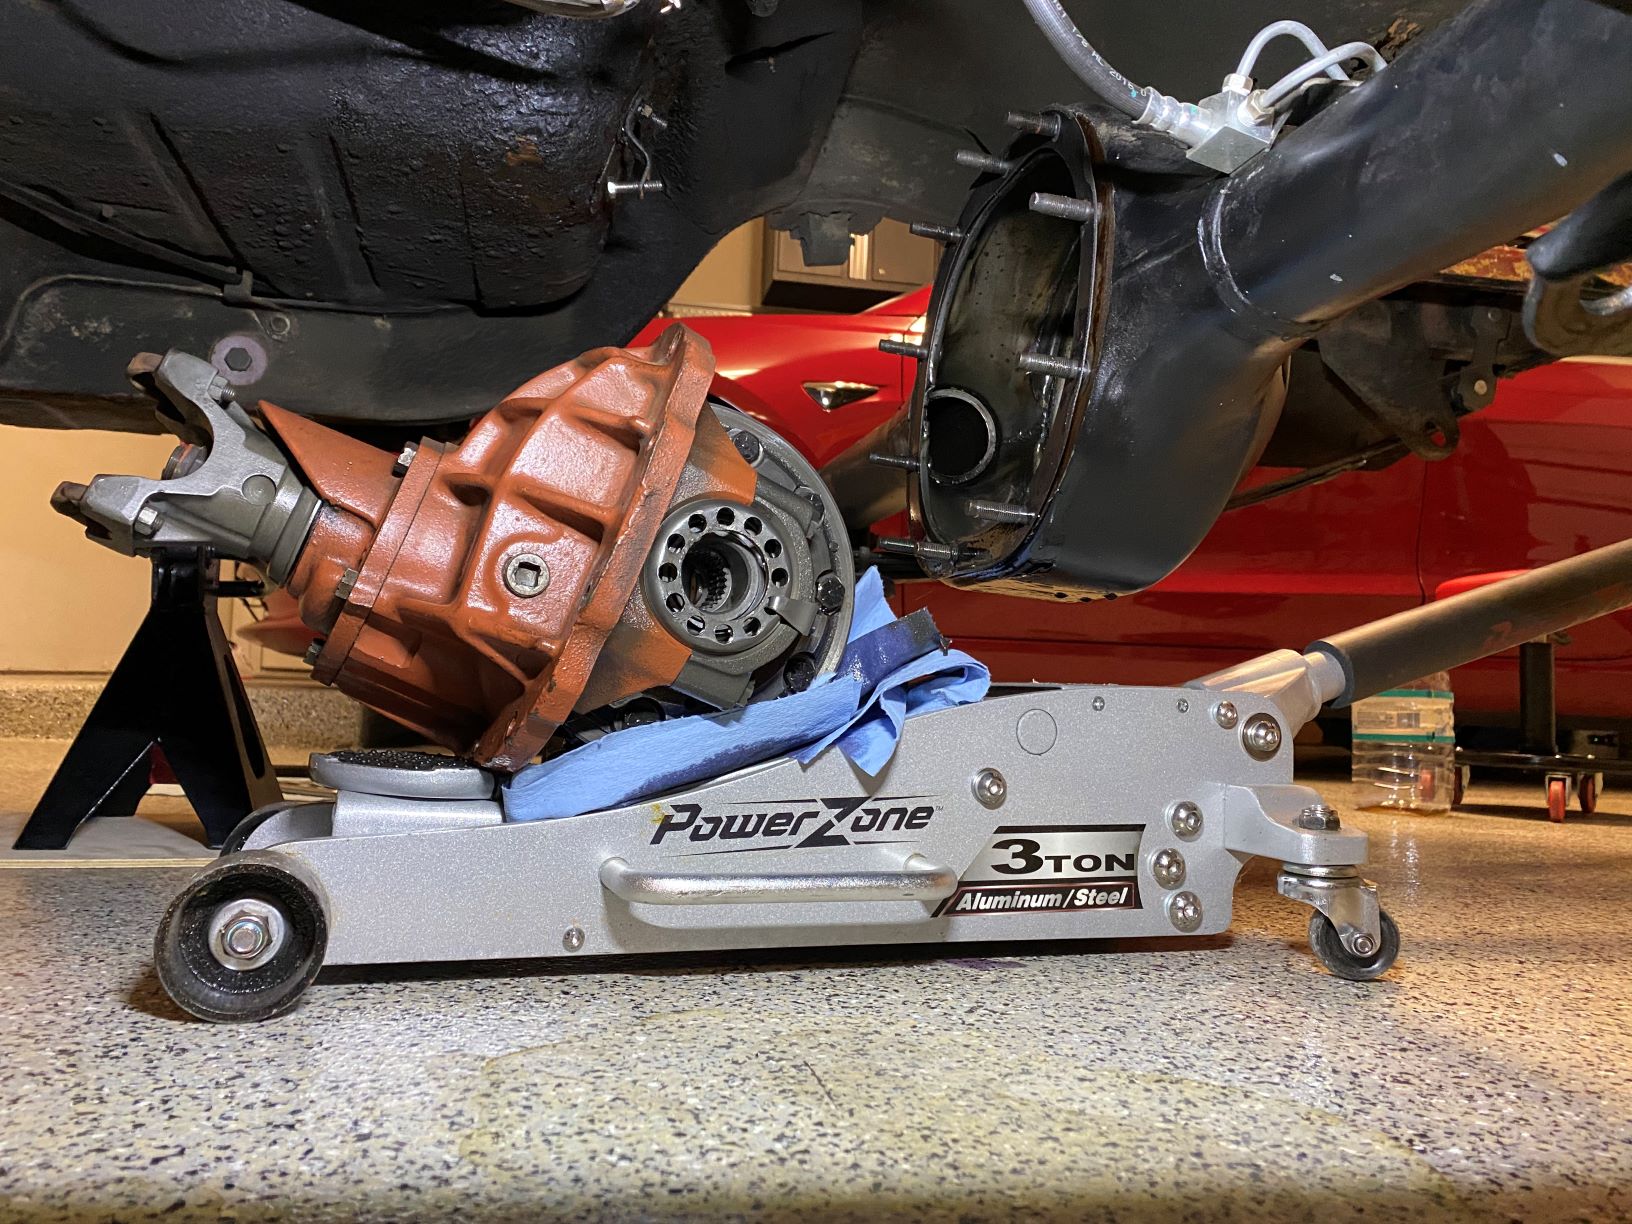
After removing the brakes and sliding the axles out of the rear end housing it was time to drop the differential. It’s heavy, awkward, and filled with gear oil (smells terrible). Thankfully my floor jack cradled it better than I had expected so I didn’t have to get too hands-on with it.
With the diff out the rear housing was empty and I was able to divorce it from the leaf springs and slide it out of the car.
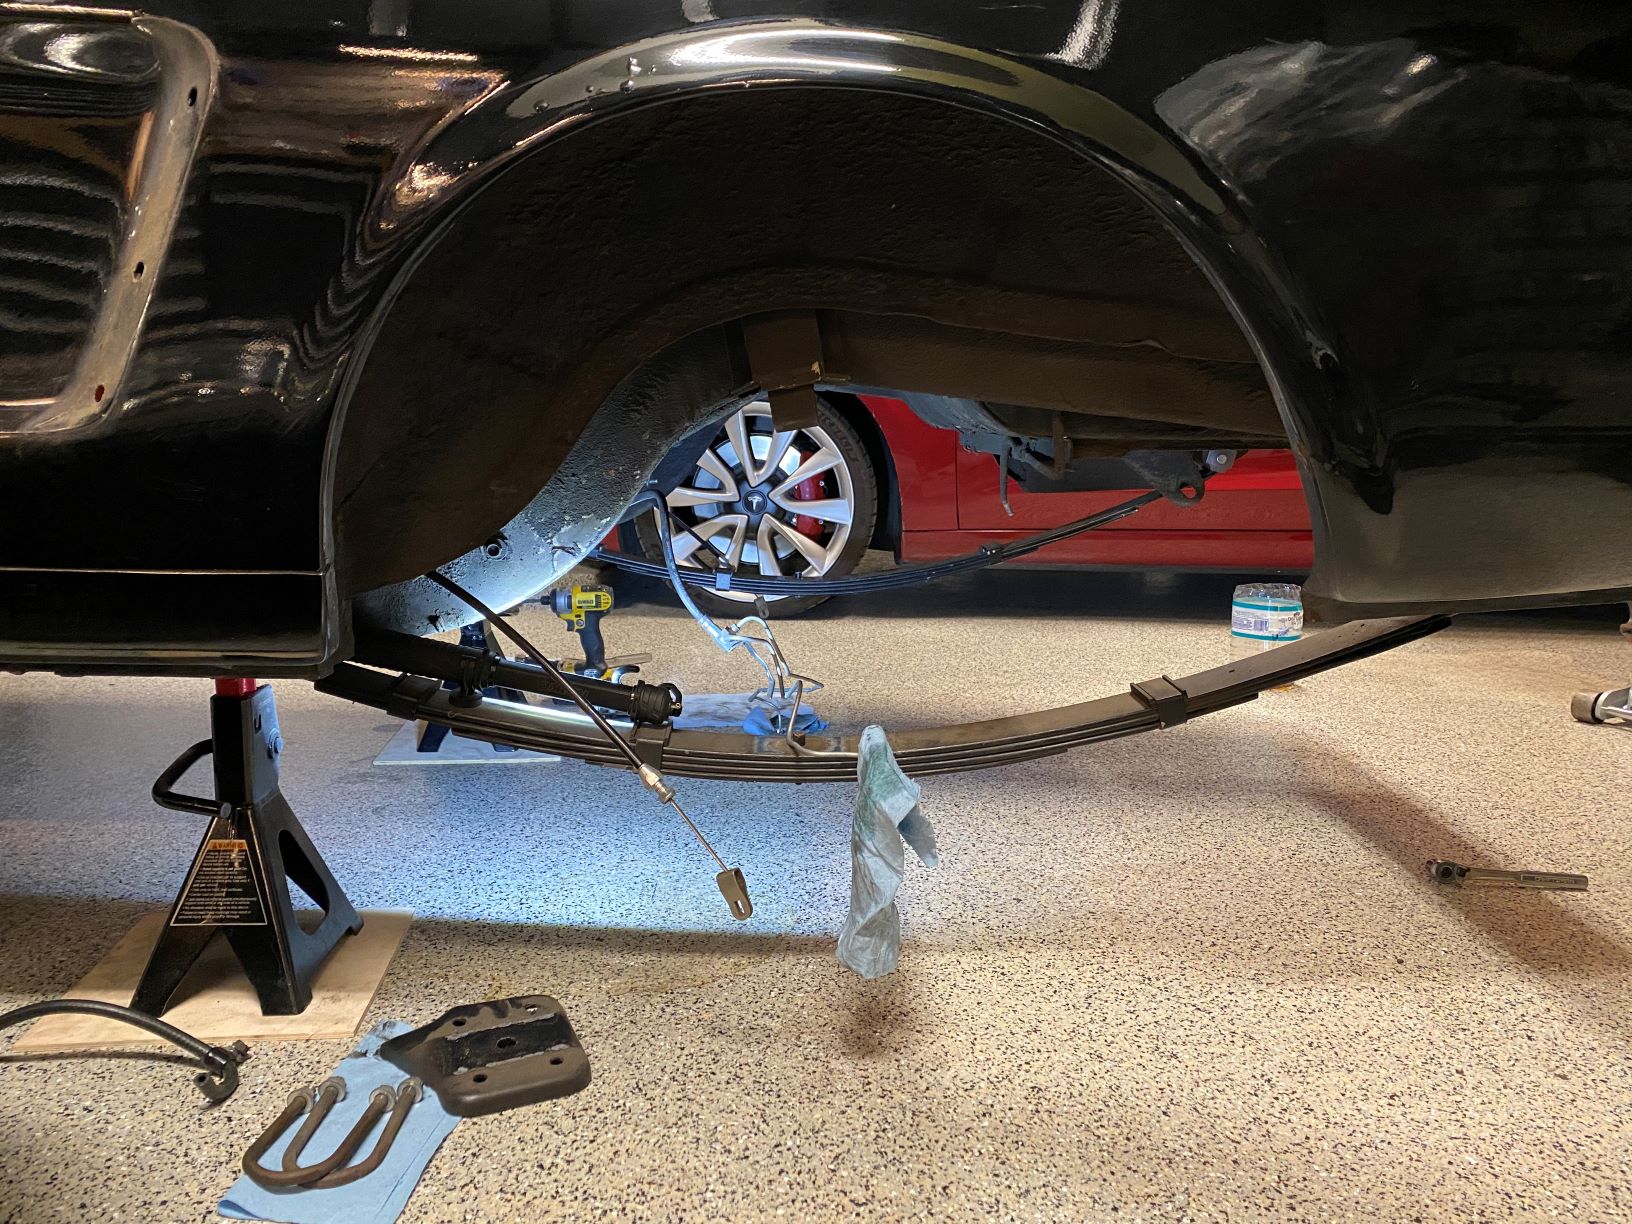
With some help from my handy-dandy slide hammer the rear leaf spring perches were vacated, leaving one bolt each in the front perches before sliding the leaf springs out of the car.

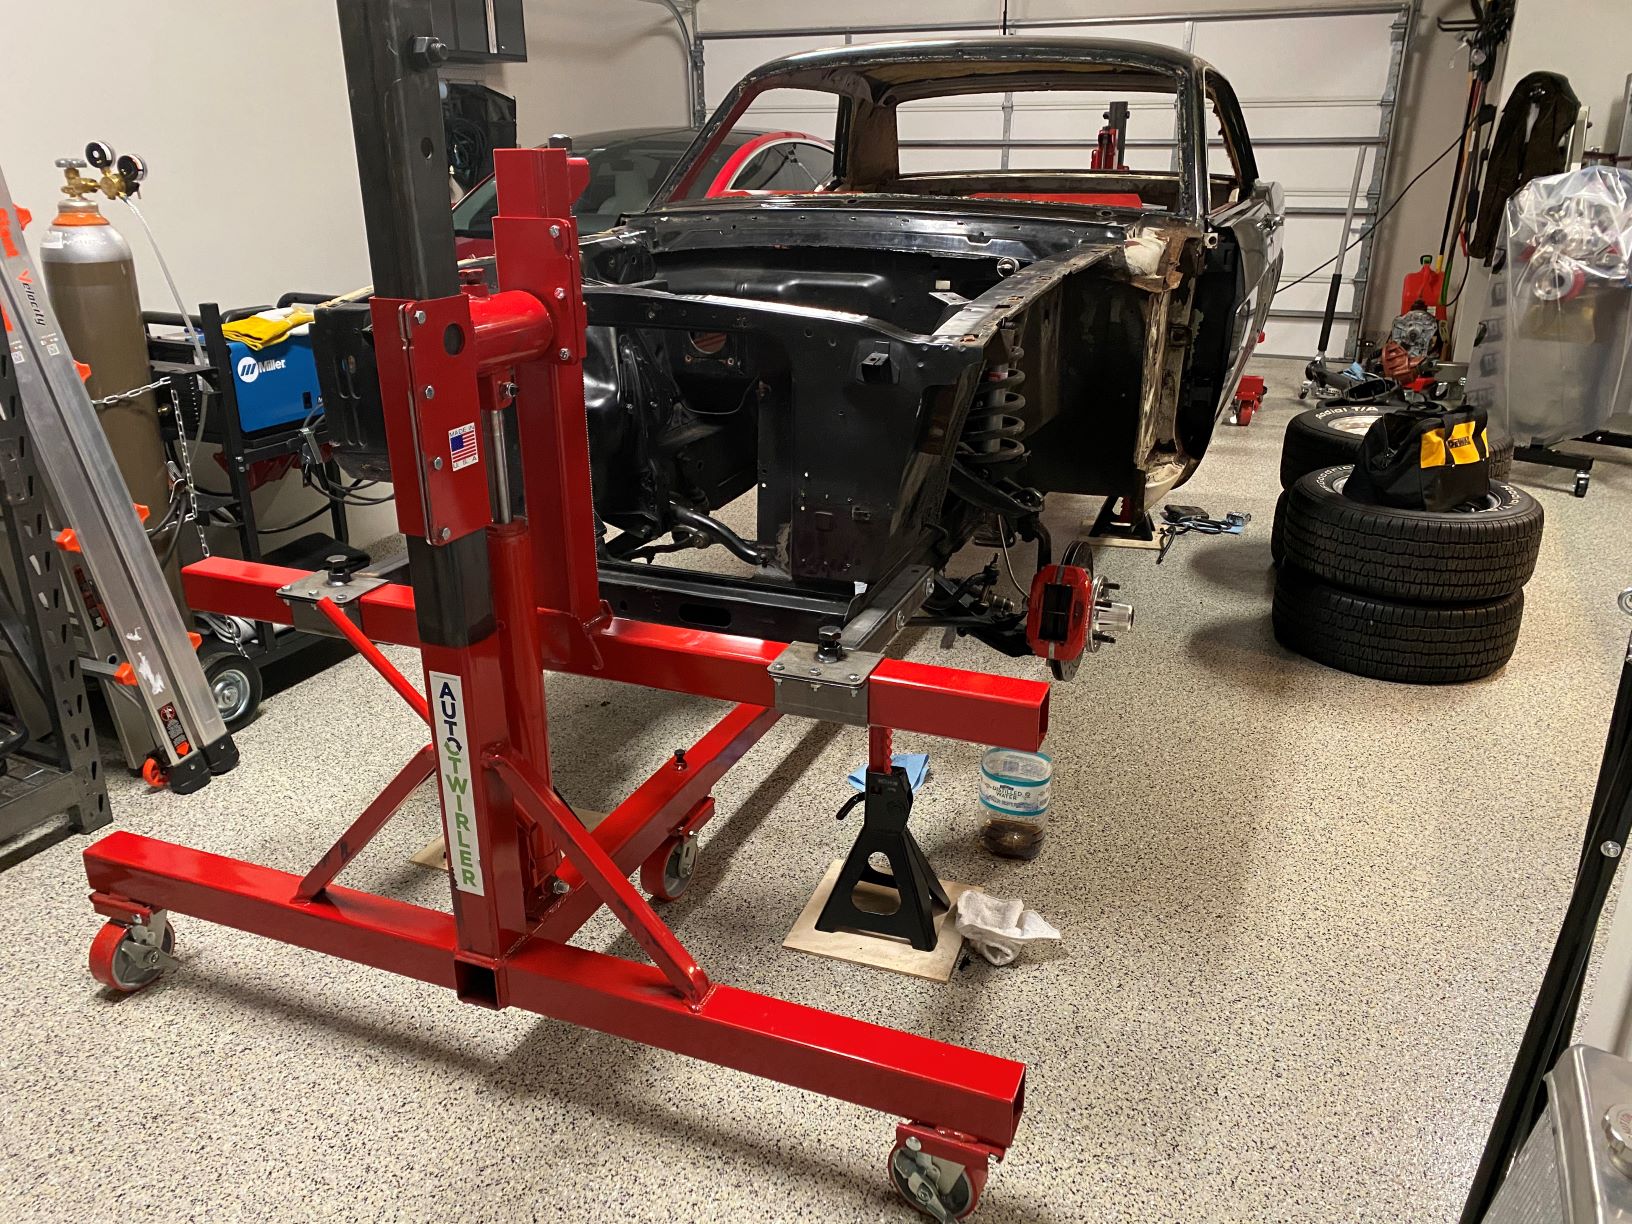
With the rear suspension removed it was on to staging the rotisserie.
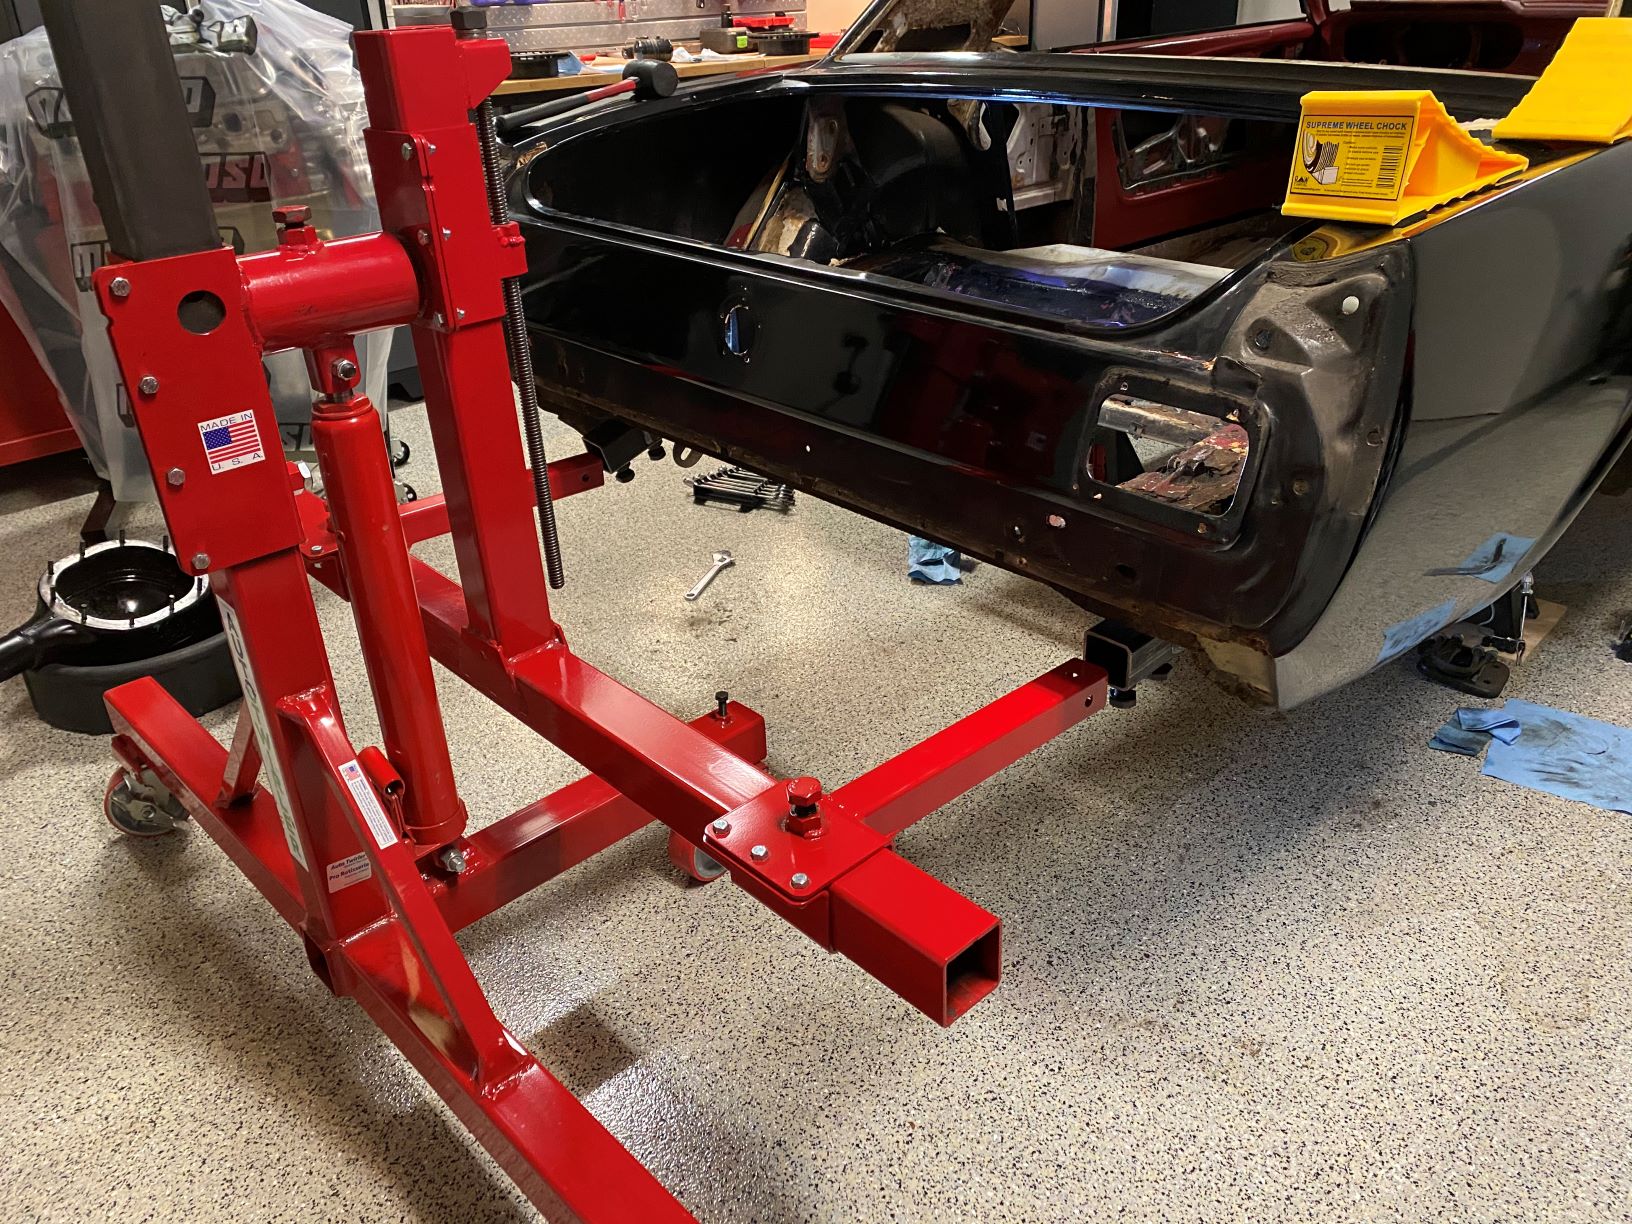
With the two ends of the rotisserie secured to the frame rails and to each other via a length of boxed steel running underneath the chassis I slowly raised the car off the jack stands by running back and forth between the hydraulic jacks.
After adjusting the rotisserie to nail down the center of gravity through the chassis I rolled it over for the first time. The car sounded like a rain stick with all of the dirt, rust, and pine needles moving around for the first time in decades. The volume of garbage that fell out onto the floor on the first rotation was truly impressive.
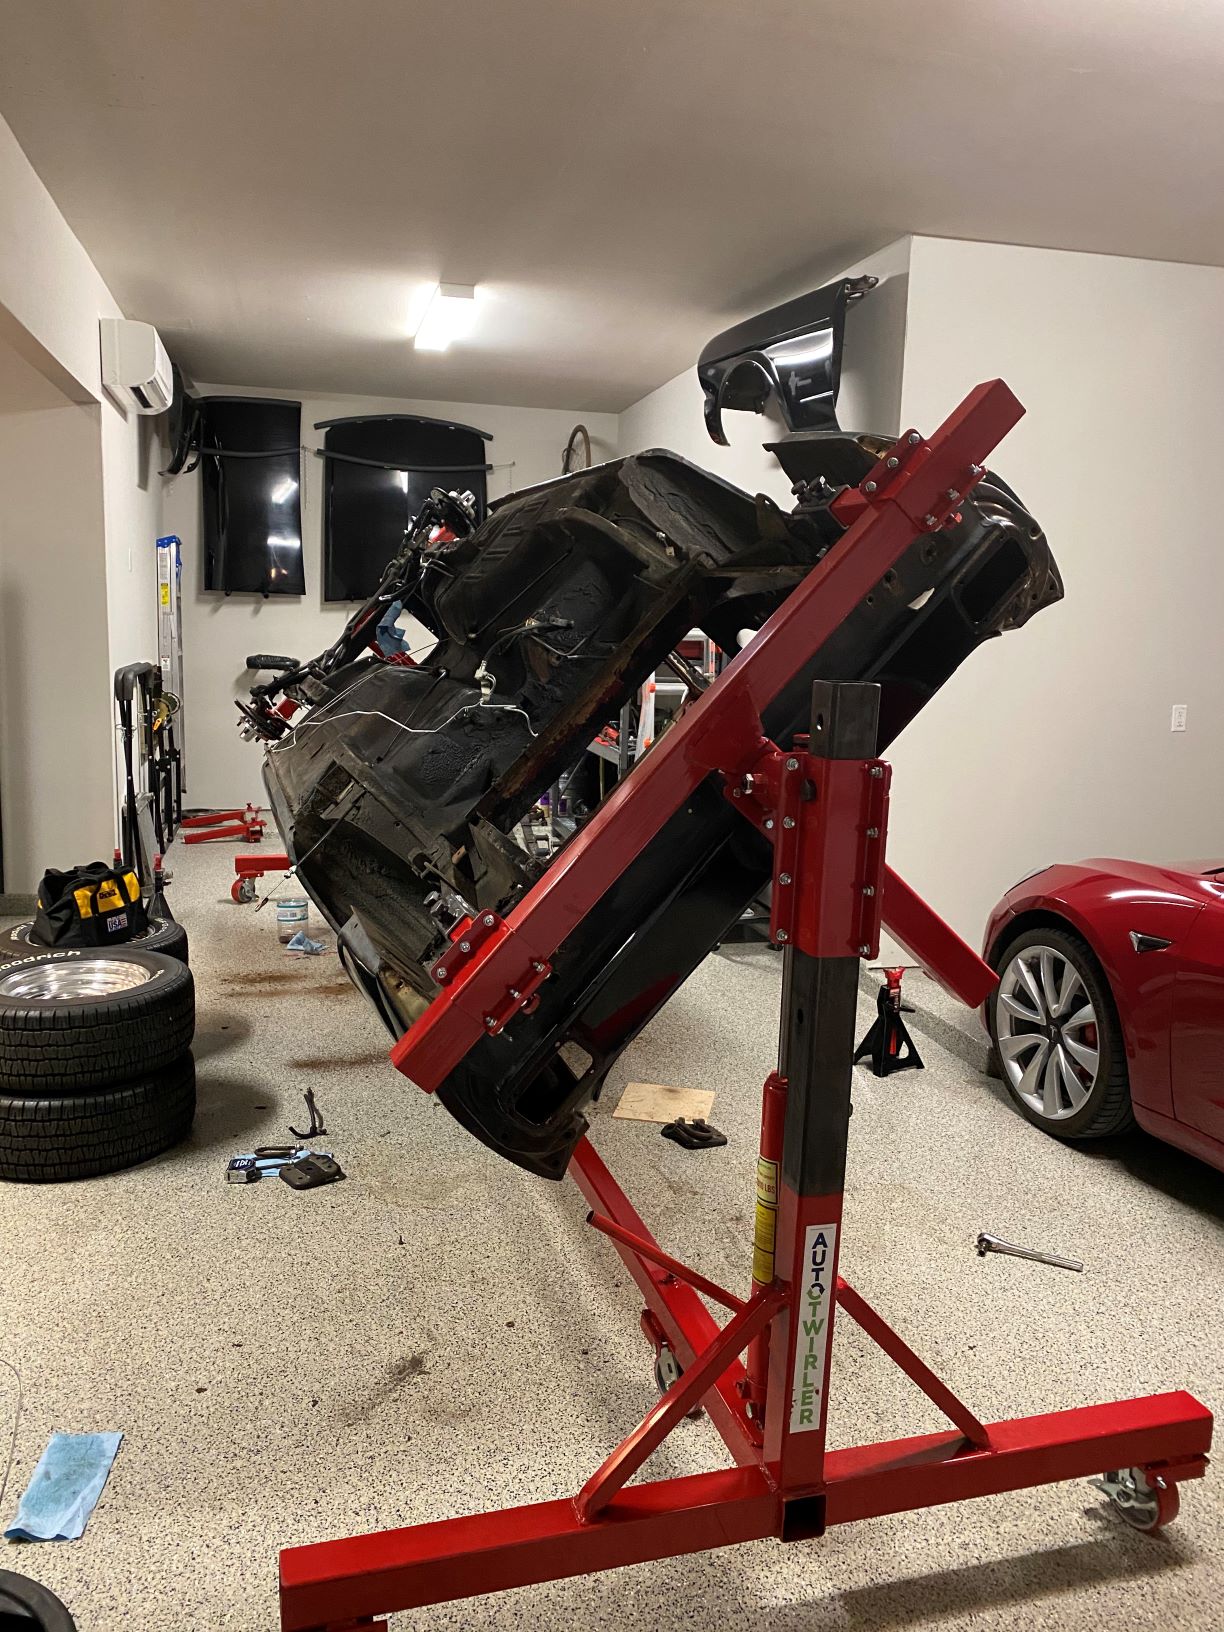
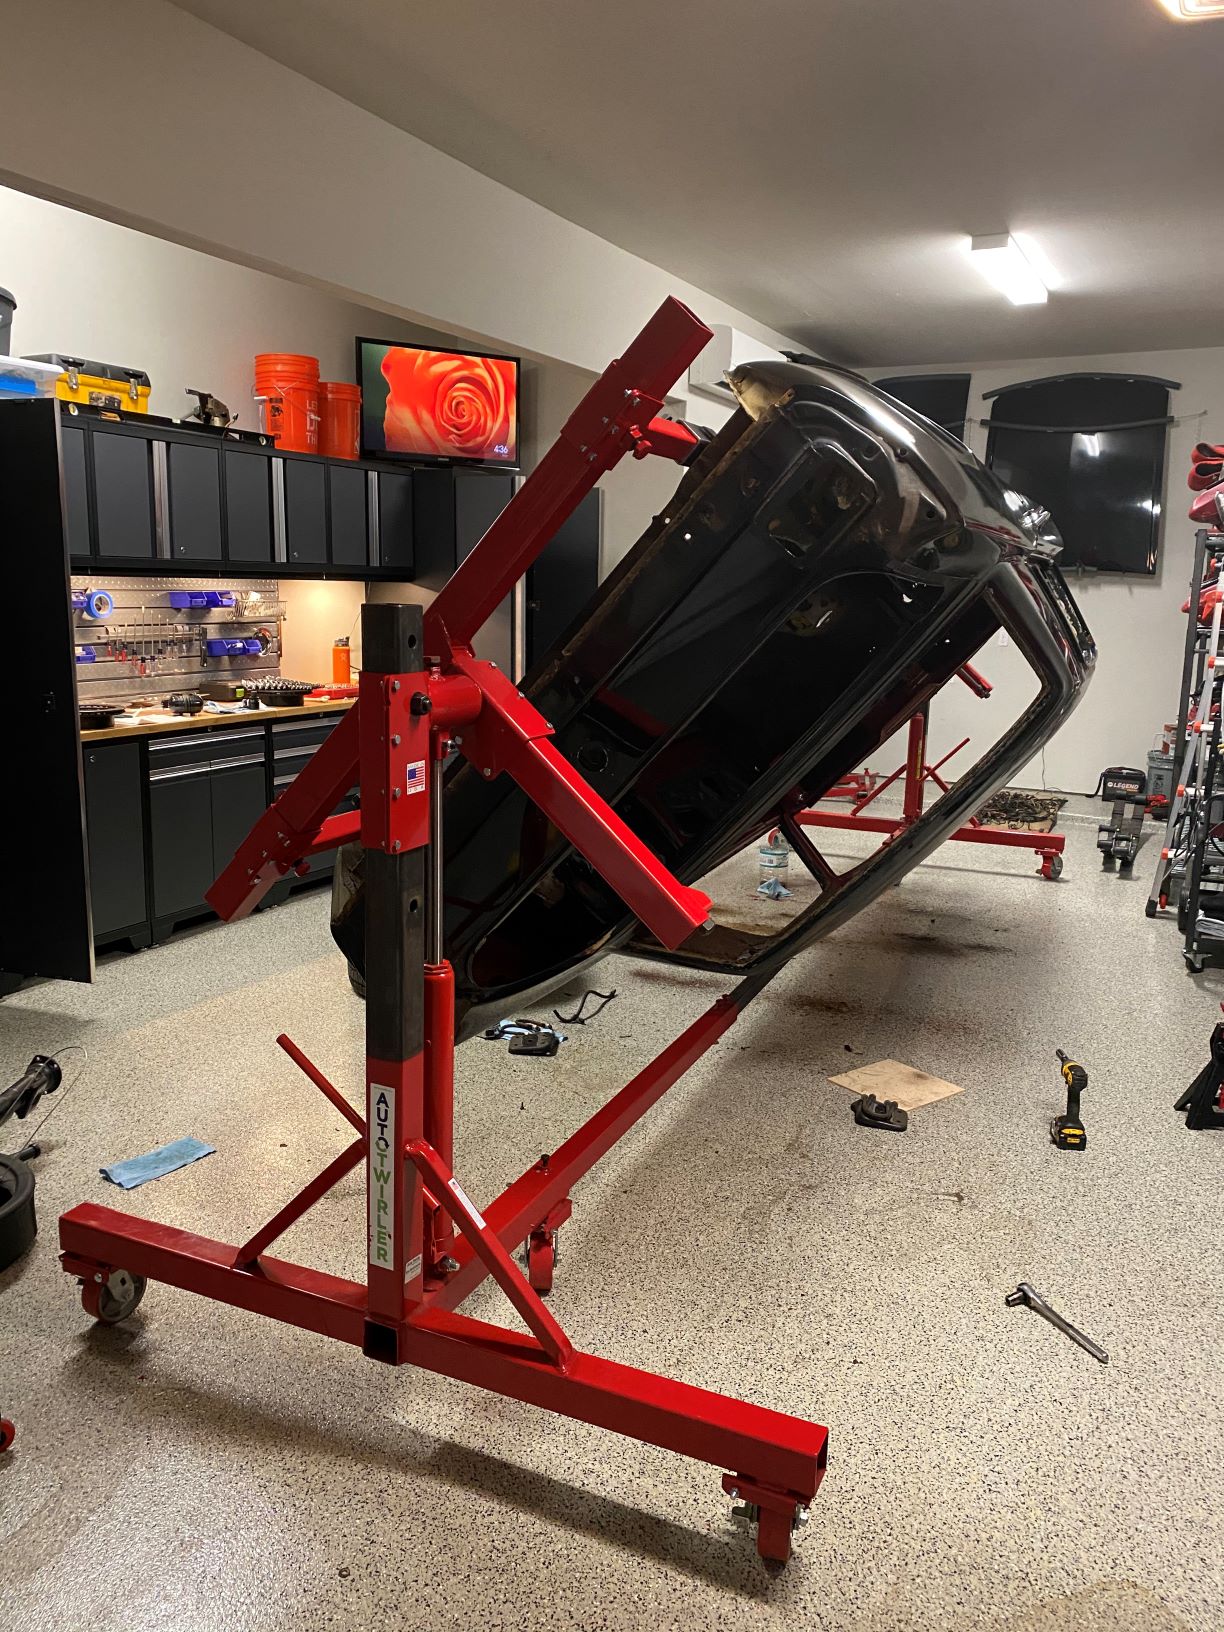
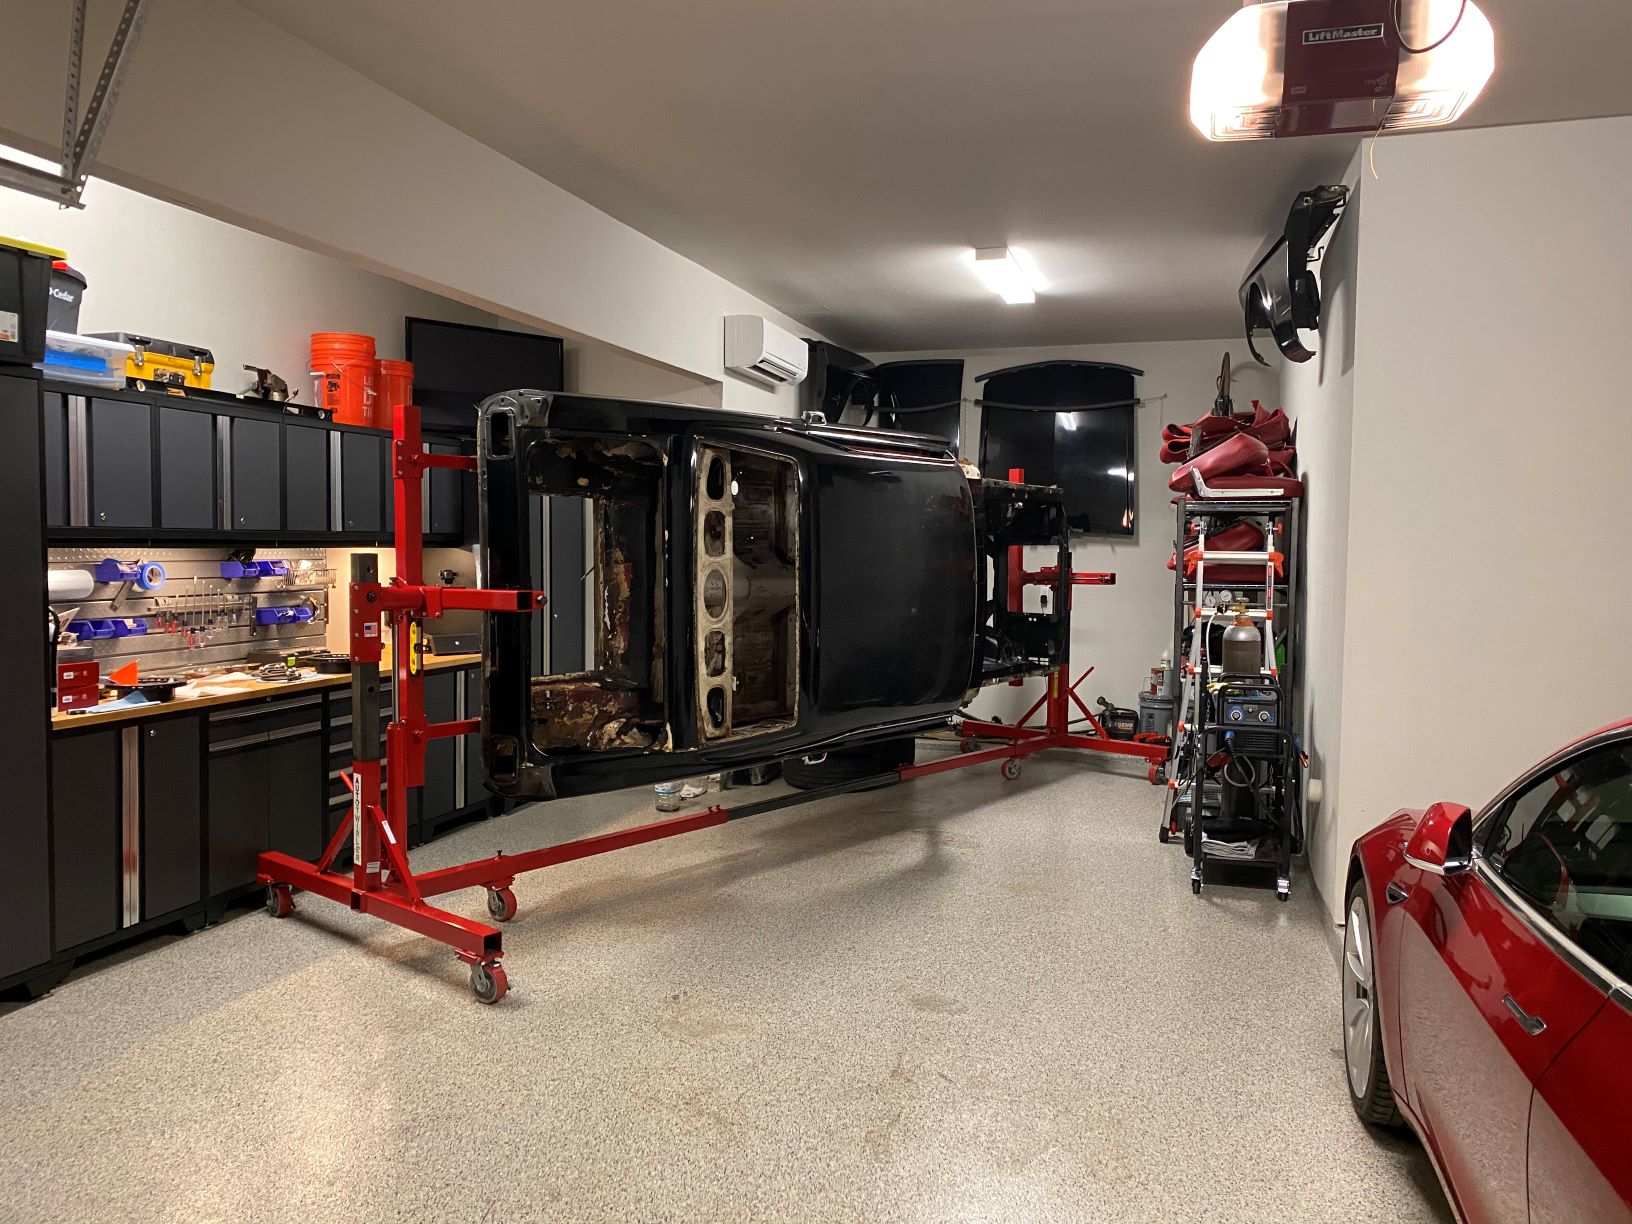
Once I was satisfied that the rotisserie was solid and operating properly I went about trying to find a way to continue to fit all three cars in the garage. I found that if I positioned the rotisserie at an angle and kept the chassis rotated vertically I maintained just enough room to get all the vehicles in and close the garage door.
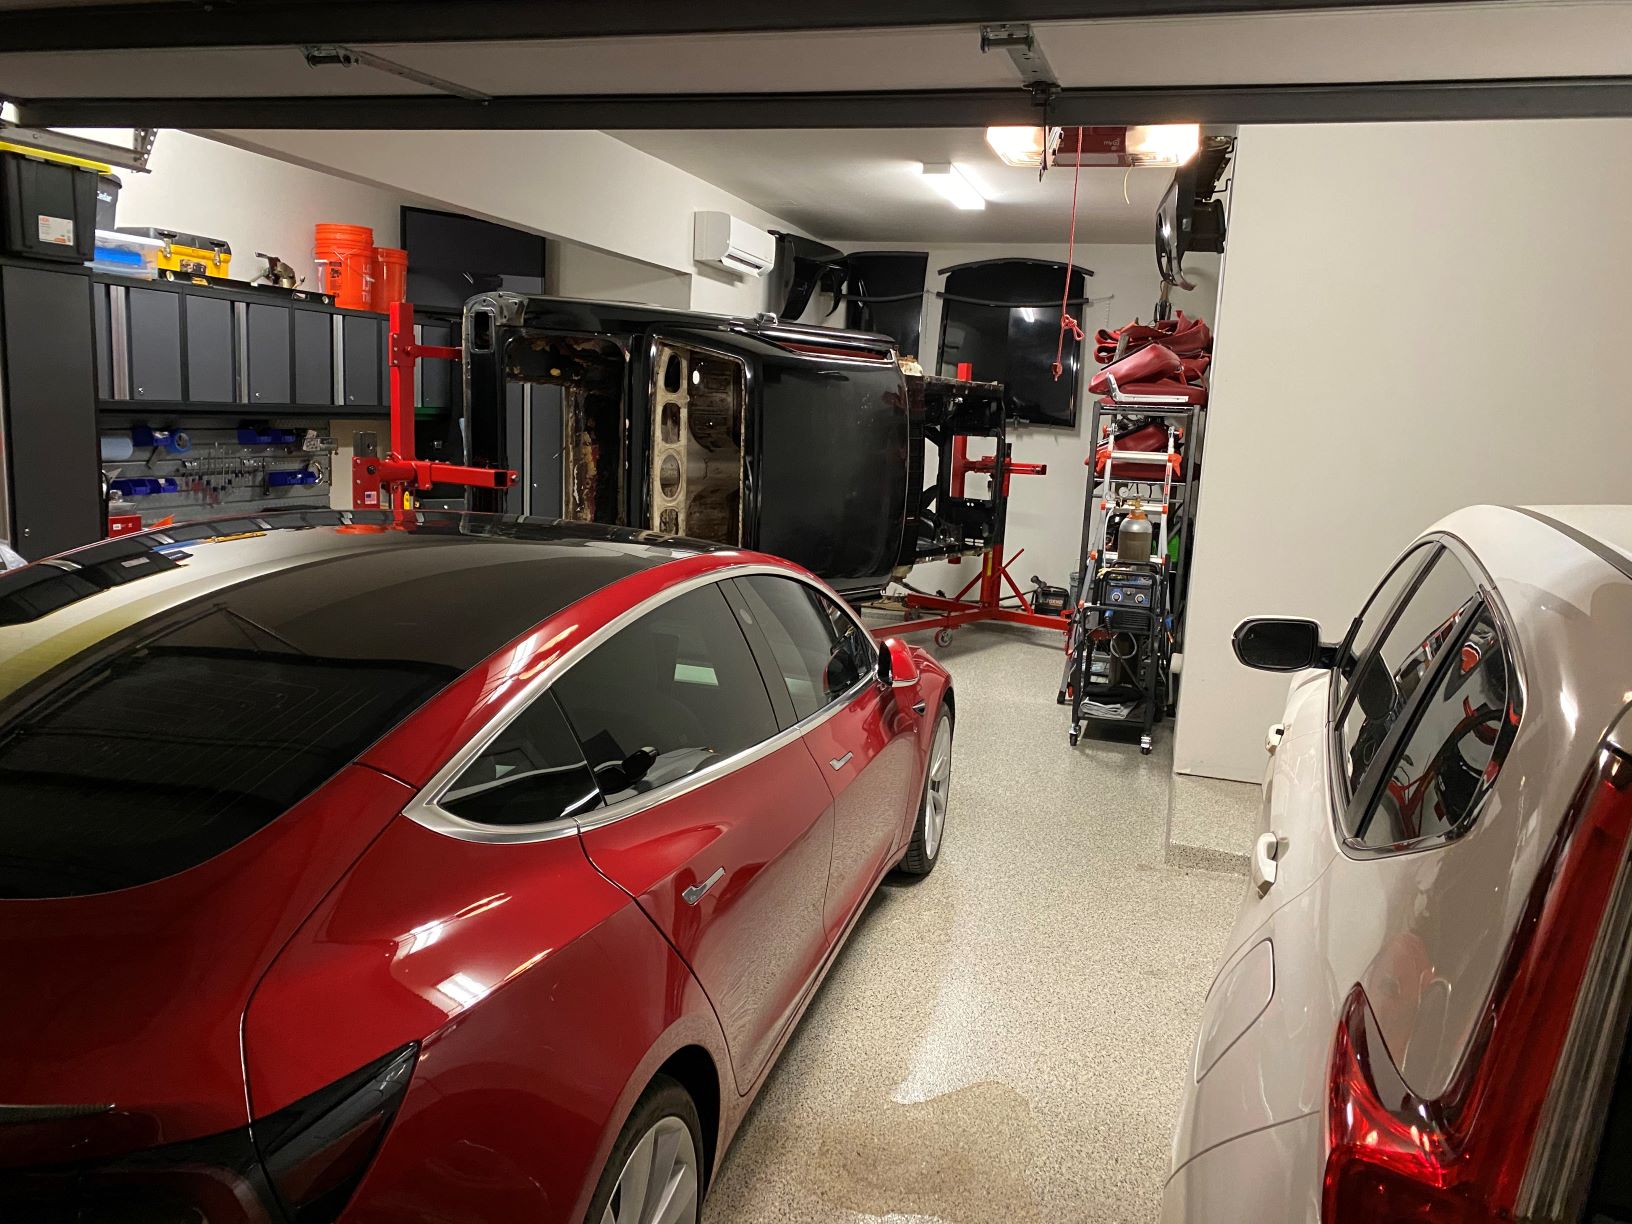
Success!
Next steps from here will be finishing the disassembly of the front suspension, removing some odds and ends (brake lines, exhaust hangars, etc), and coordinating the media blasting and priming with a local paint shop.
WoW ?! Amazing progress…I love that you explain each step, each success, each challenge with pictures and explanations! Impatiently waiting for next update now lololololol! ?